Some students may need the ability to run Windows 10 programs on a Mac for certain courses. While we encourage them to use the University computer labs already available to them (see link below), the Service Desk can help students install Parallels. Previously, Bootcamp allowed Mac users to partition their hard drive to dual boot to either Windows or MacOS. This option runs the risk of data loss, and is no longer available on Macs with the M1 Apple Chip. Students can purchase a Parallels Desktop license for $39.99/year. This article explains how to install Parallels on both Intel-based and M1 Macs.
Lab Software | USU IT Computer Labs: https://it.usu.edu/labs/lab-software
Table of contents
How to Install Parallels Desktop on Intel Macs
-
- Download the Parallels Desktop installer to your Mac.
- Double-click the .dmg installation file to mount it in Finder, then double-click Install.
- Read through the Software License Agreement and click Accept.
- Once prompted, enter your local Mac user password to finalize the installation.
How to Install Parallels Desktop on M1 Macs
-
- Visit the Microsoft Windows Insider Preview Downloads web page.
- Click Sign in in the upper right corner of the page.
- You will need to register as a Windows Insider before you will able to download Windows 10 ARM
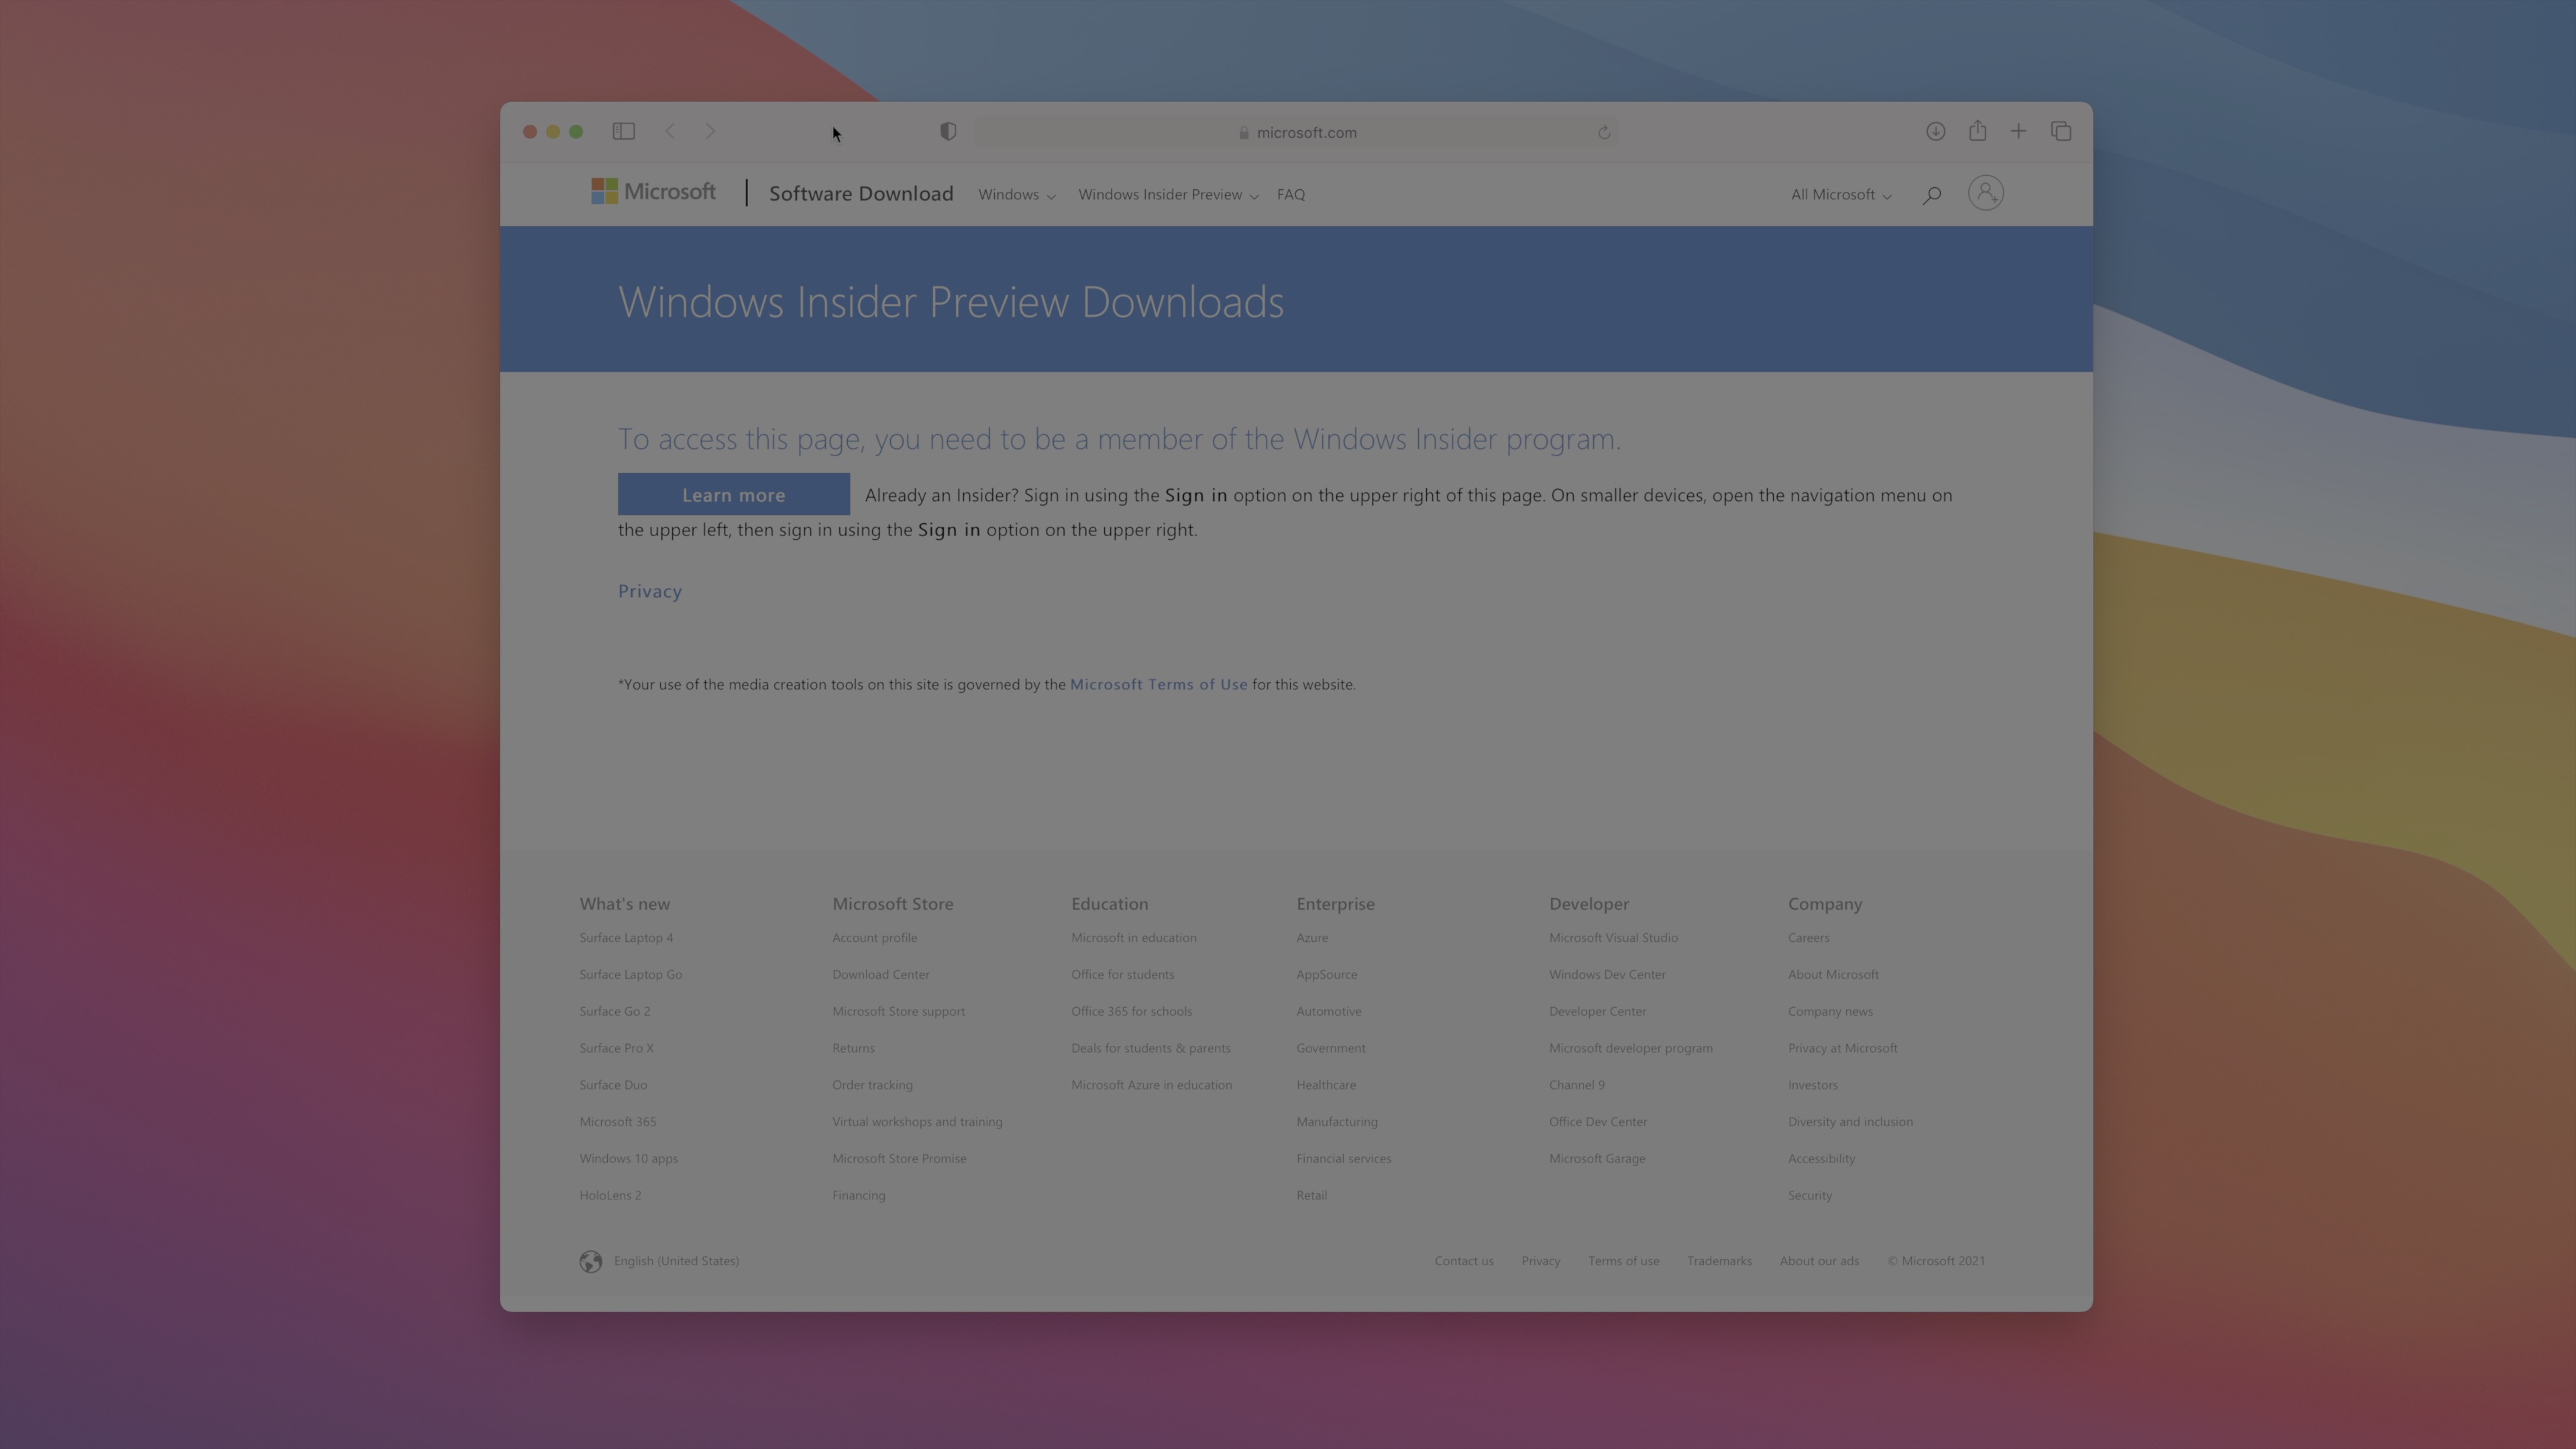
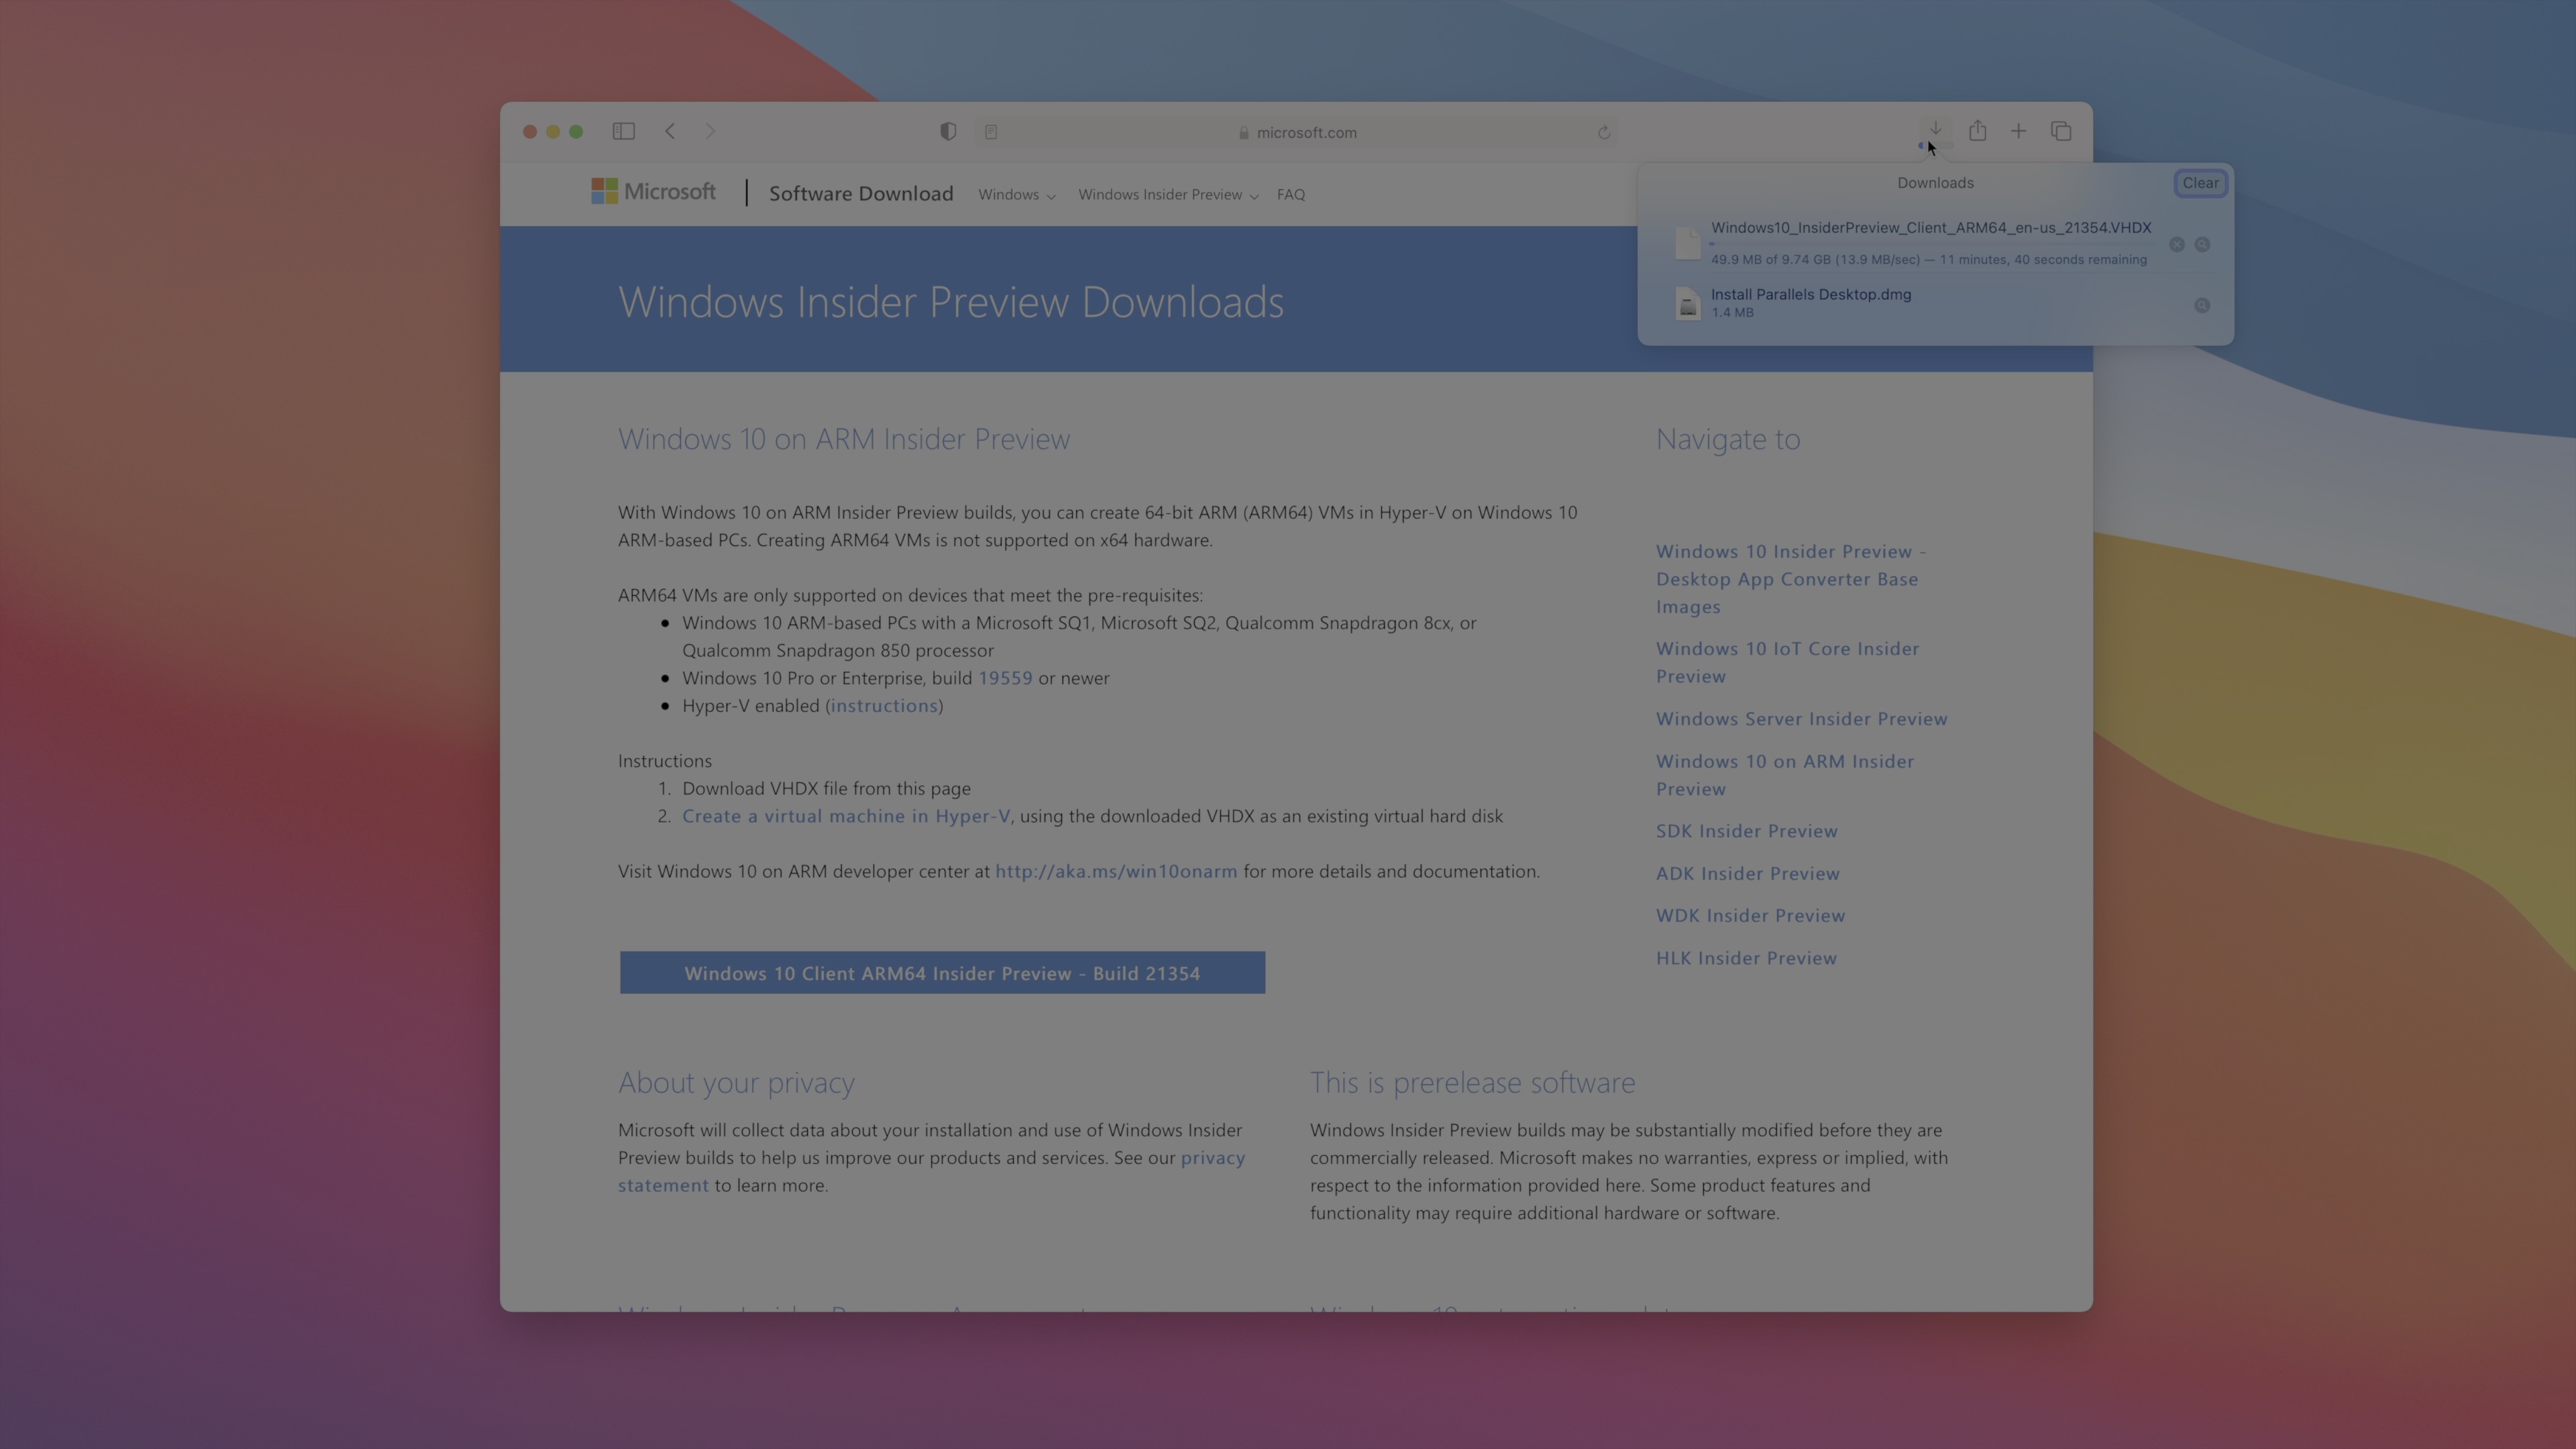
4. Download Windows 10 on ARM Insider Preview. Keep in mind, you need to be registered as a Windows Insider before you can access the downloads. You can download via Microsoft’s website.
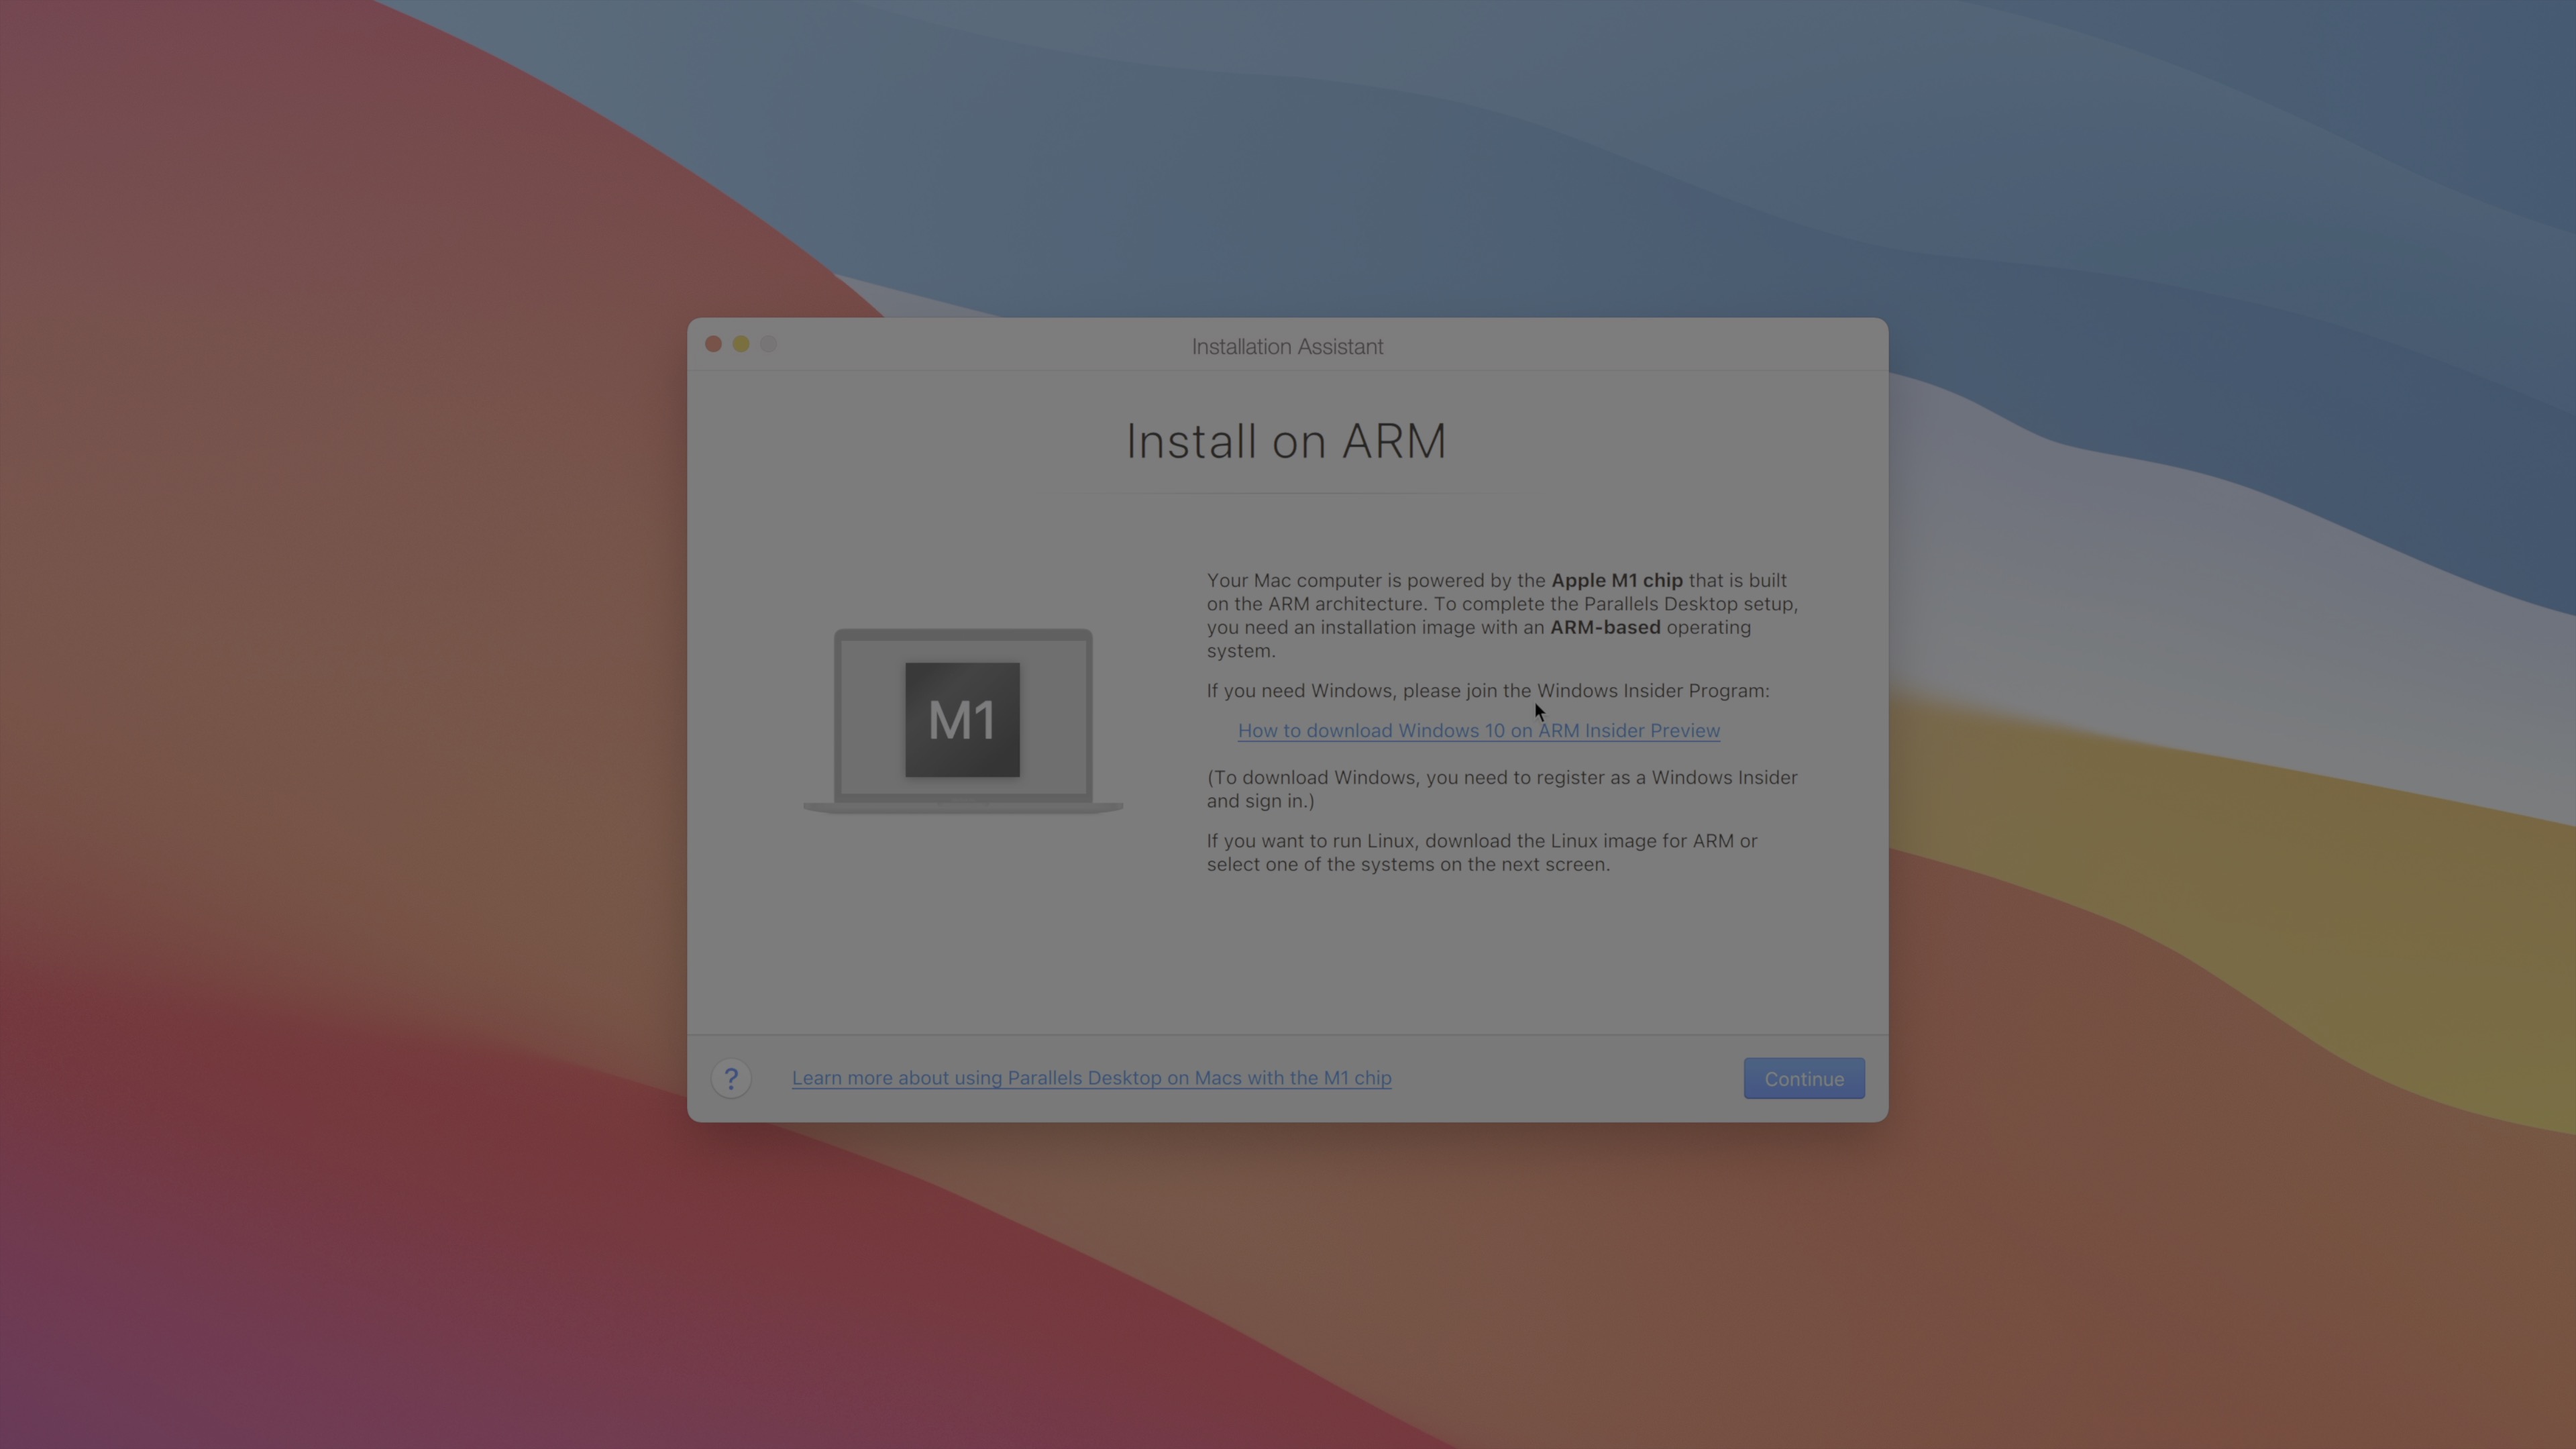
5. Once you have Windows 10 on ARM installed to your Mac, open Parallels to configure the Windows 10 installation. Click 'Continue' on Install on Arm.
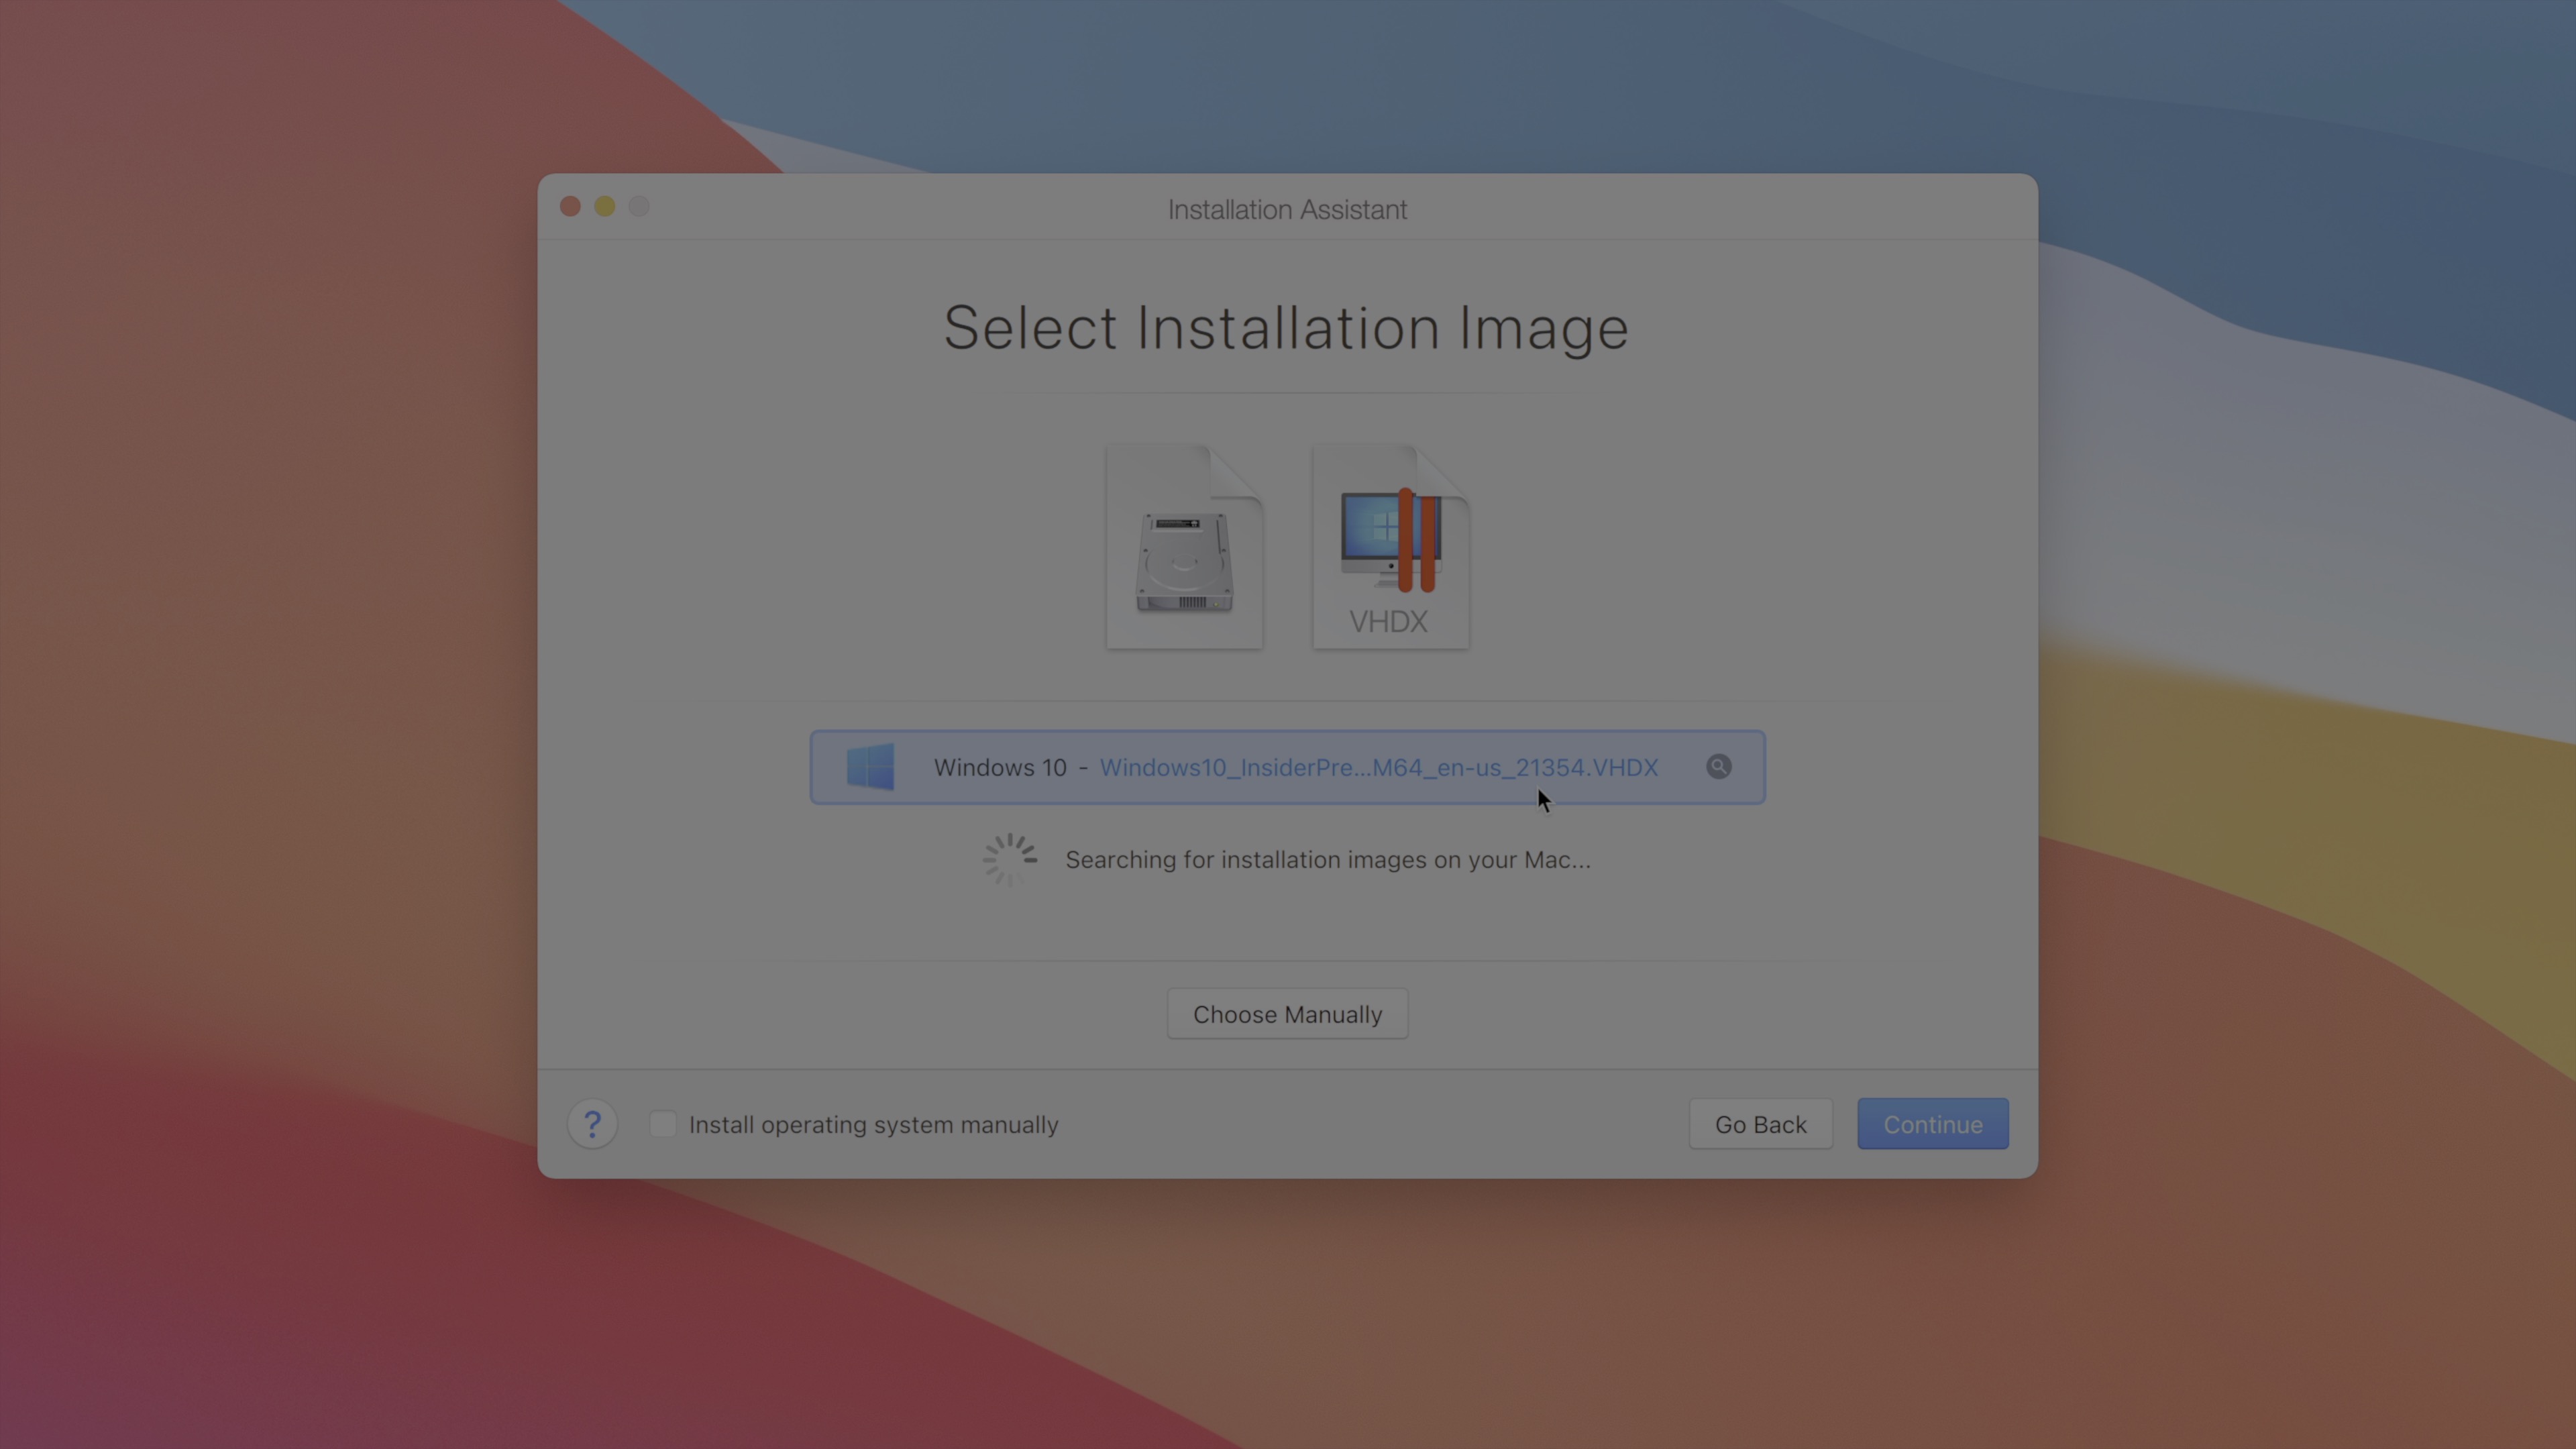
6. It should find the Windows 10 .VHDX file you downloaded in step 4. Click 'Continue'
7. Windows will go through the setup process. This may take several minutes.
How to Activate Parallels
-
- In the Parallels Desktop Menu, Click on 'Account & License.'

2. Make sure you are signed in using the student email that was used to purchase the Parallels license.

For further assistance, please contact your Department IT Support or the IT Service Desk